Customer Invoice Email app
The Customer Invoice Email App enables an organization to effectively manage the customer invoicing process with email.
Overview
In standard Microsoft Dynamics 365 Finance, to get an invoice to a customer, a user must manually print the customer invoice, save the invoice to their PC, find the saved file, and then share it via email to the customer, which is a time-consuming and tedious task. With the Customer Invoice Email app all of this is done with one click.
Process setup
The first step is to select the template to use for emails, and what documents will be sent with the email. Navigate to AXIO > Setup > AXIO parameters
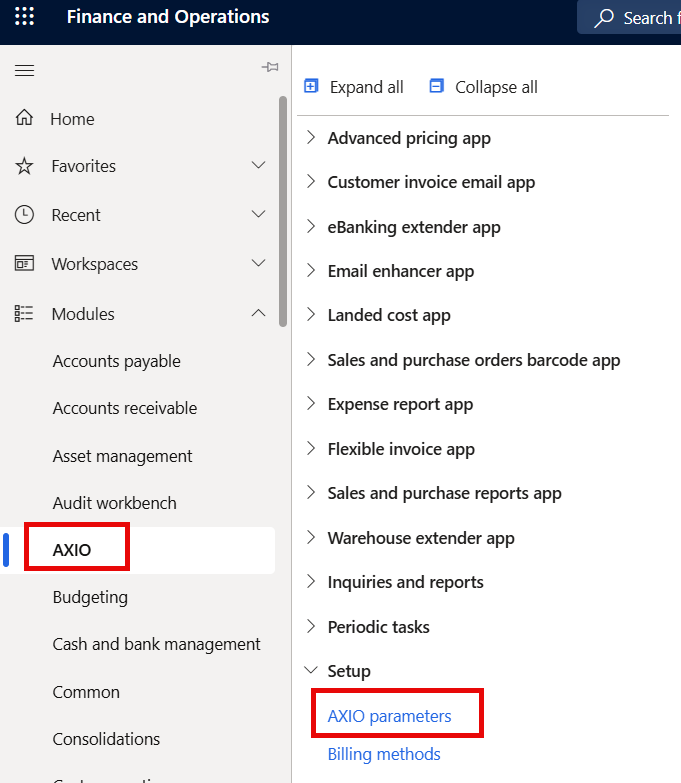
The AXIO Parameters page opens.
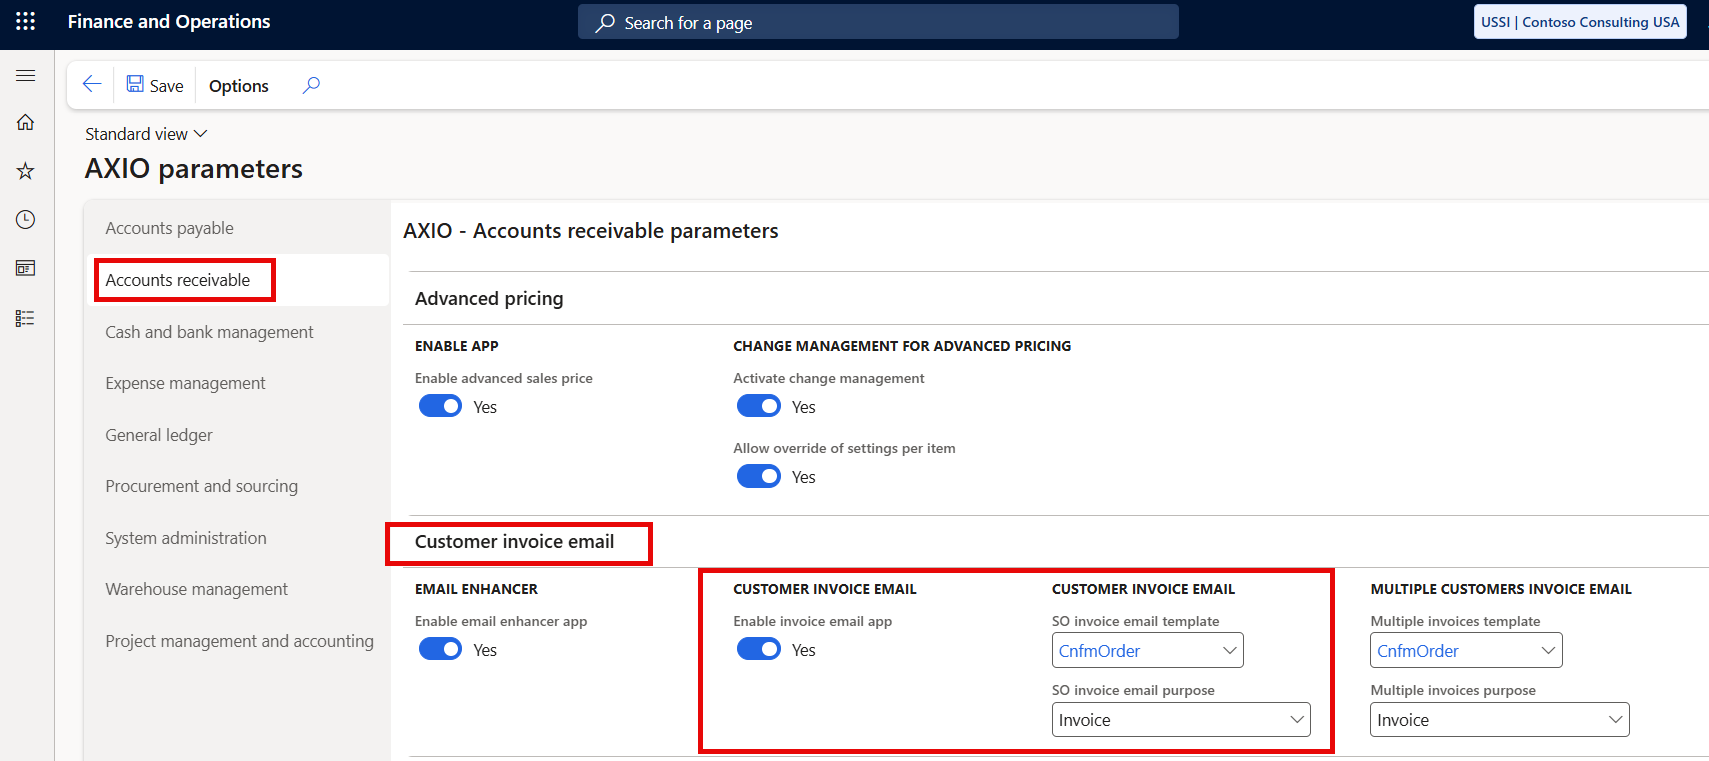
Select the Accounts Receivables > Customer invoice email tab.
Under the Customer Invoice email, set Enable Customer Invoice email to TRUE.
Select the SO Invoice email template, and SO Invoice email purpose.
Customer Email addresses
Customers must have Email addresses set up in order to receive Emails and invoices.
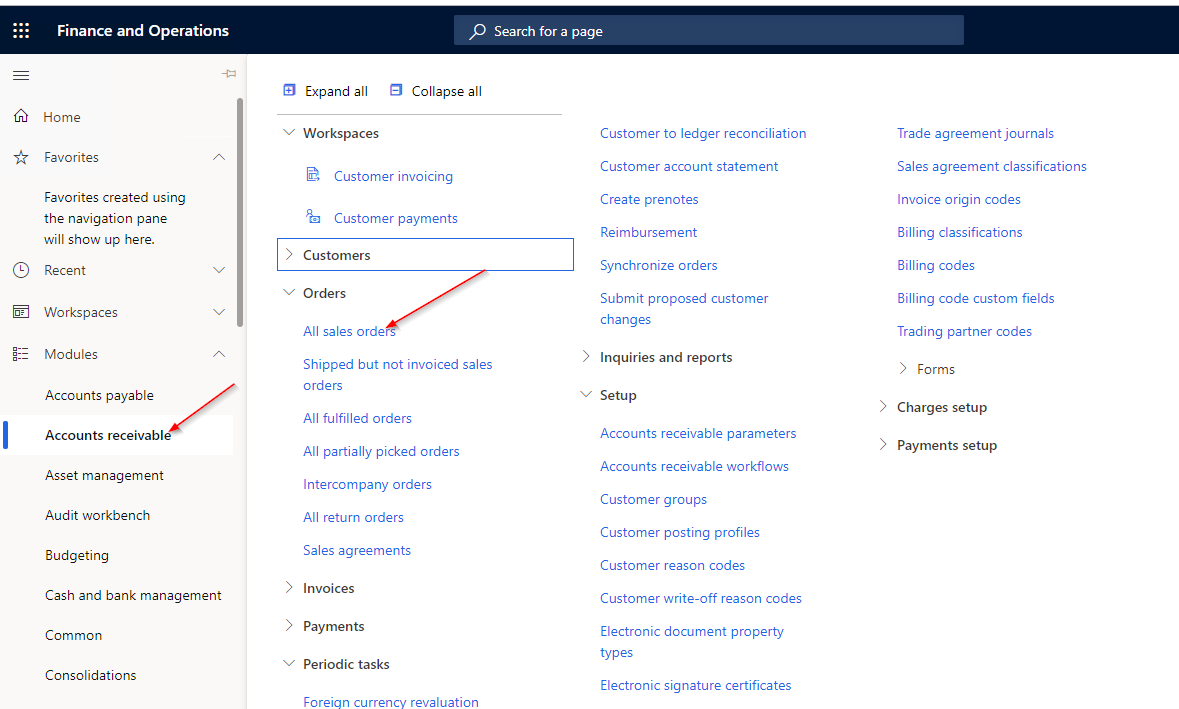
Navigate to: Accounts Receivable -> Customers -> All customers
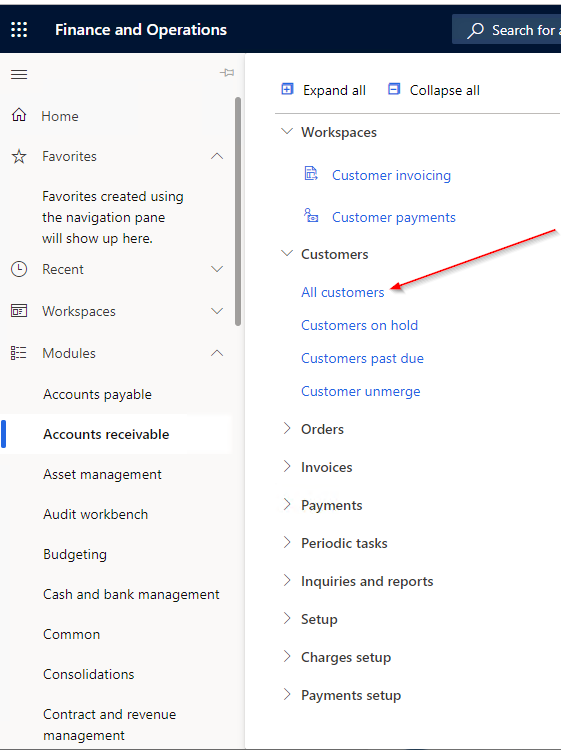
Select a Customer
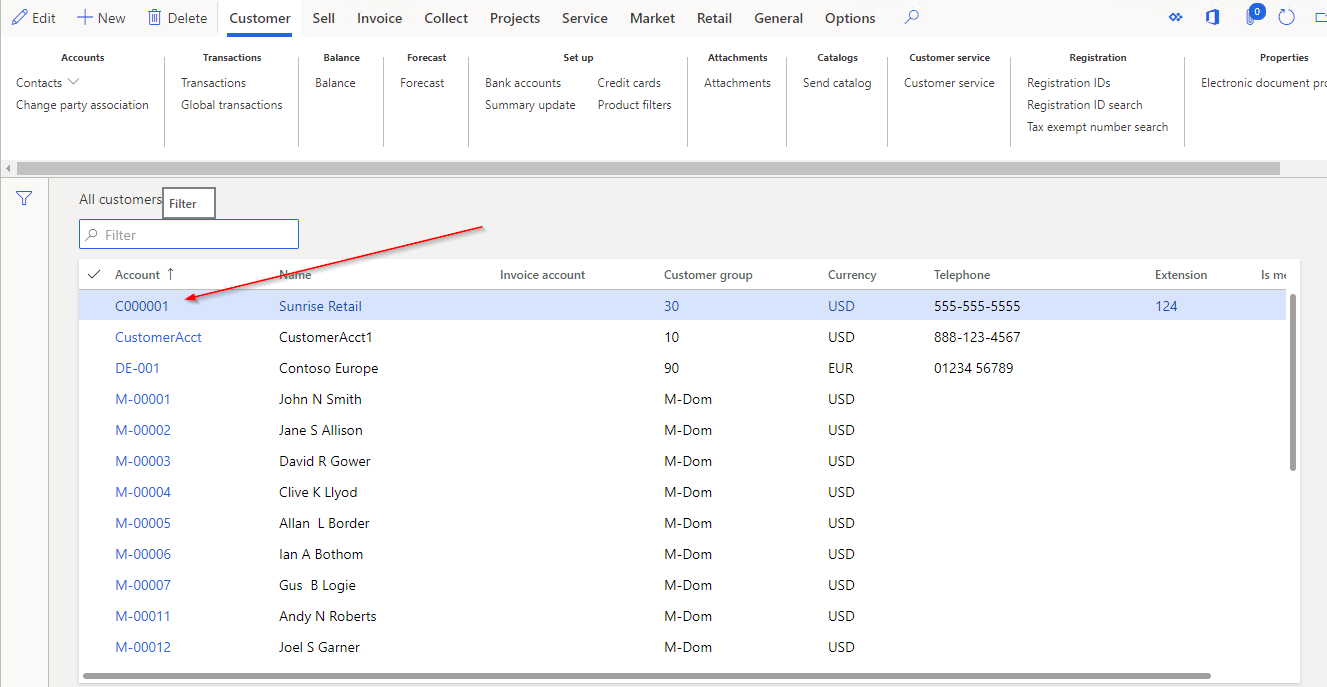
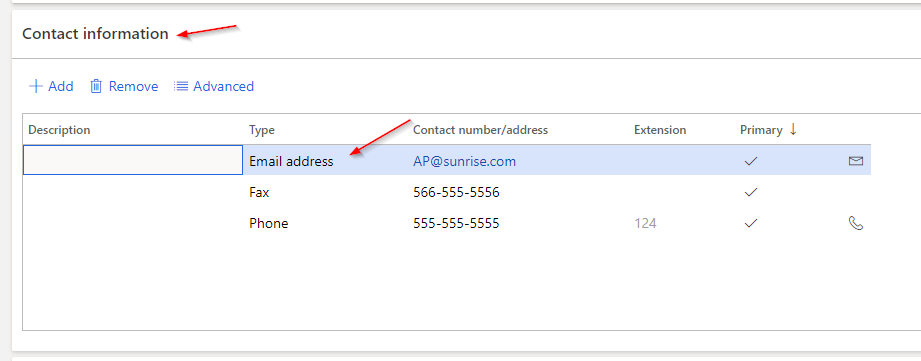
Navigate to the Contact Information tab and add the Email address for the Customer. The Primary checkbox must be selected.
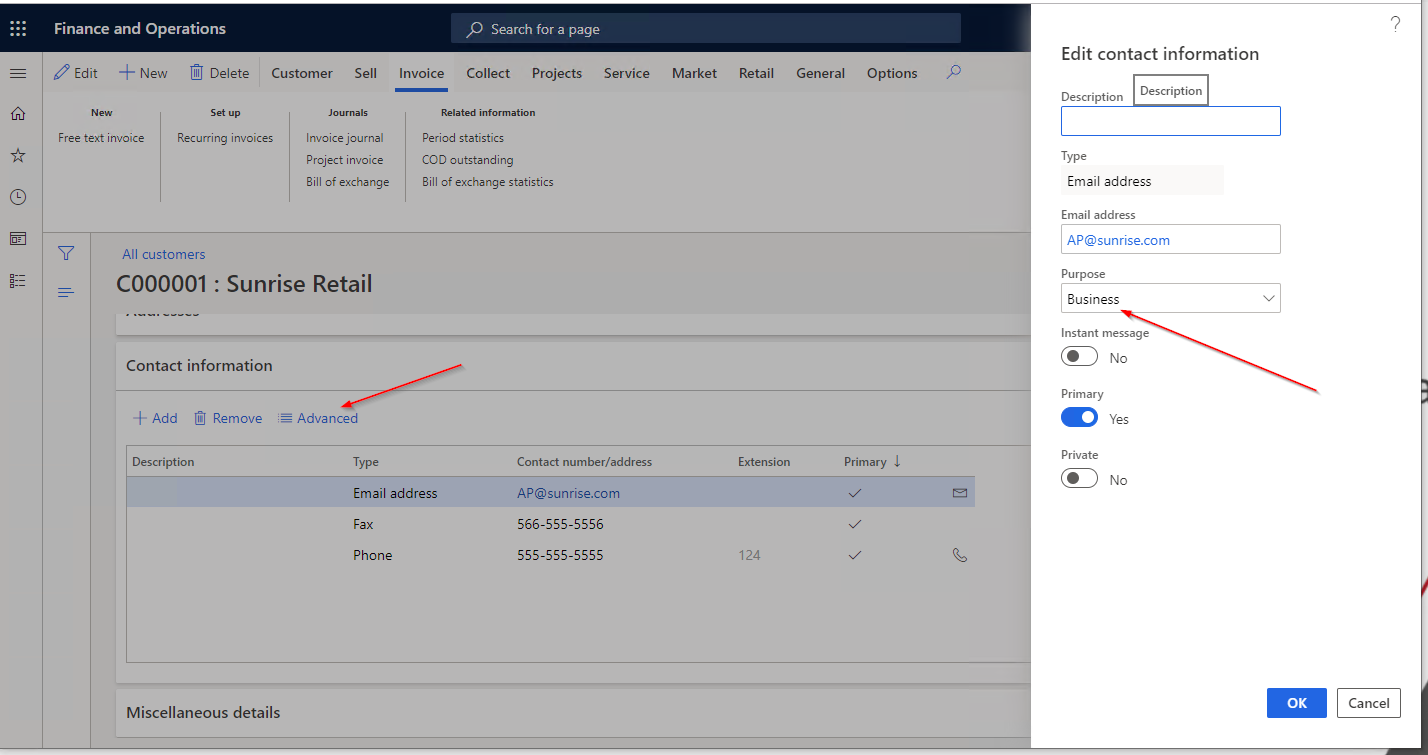
Click Advanced in the header to open the Details section. Under Purpose add the attachments set up in Process Setup.
Email Templates
Email Templates are used to determine what information is sent in the Email.
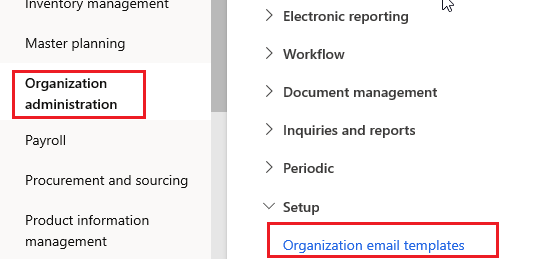
Navigate to: Organization administration -> Setup -> Organization email templates
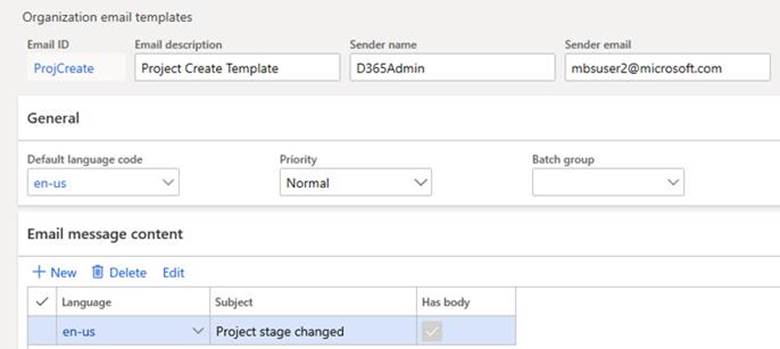
Select New and enter the following information.
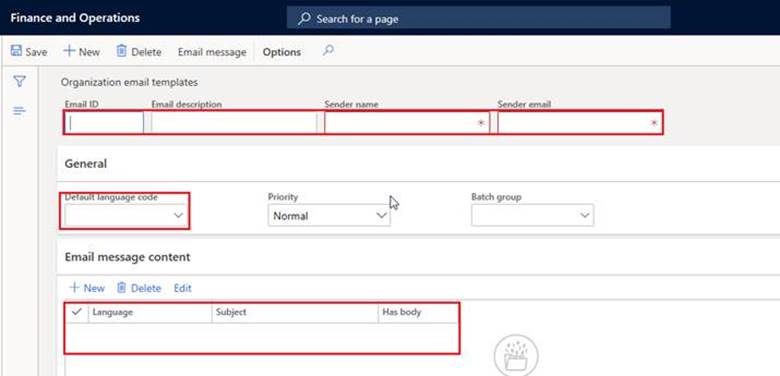
Sample data for reference
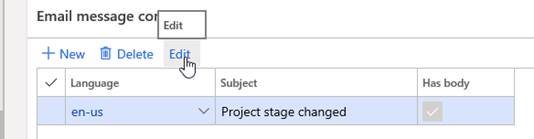
- Upload an Email Template which is in html format.

Sending Sales Documents
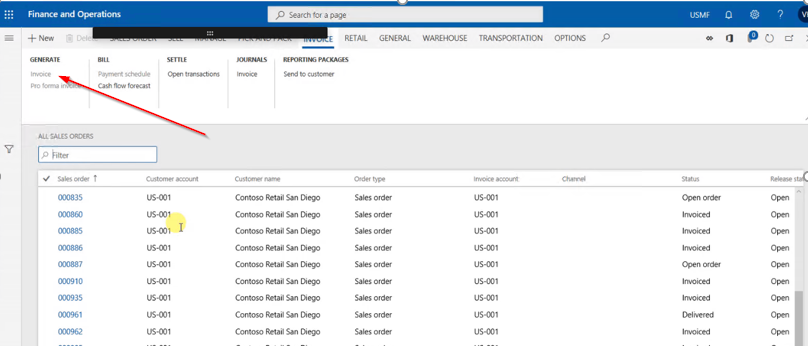
Navigate to: Accounts Receivable -> Orders -> All Sales Orders.
Select a Sales Order in the Status = Delivered by clicking to the left of the Sales Order field.

Click Generate > Invoice in the header.
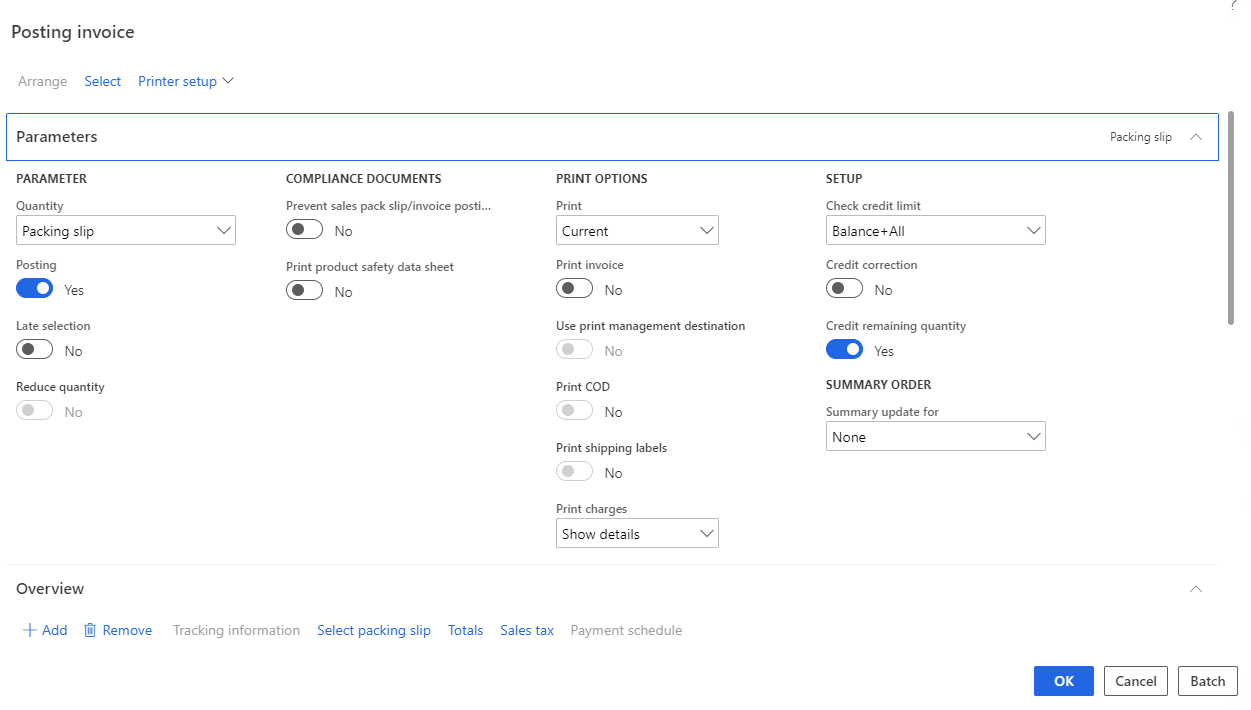
The Posting Invoice page displays to review the document(s) prior to posting.
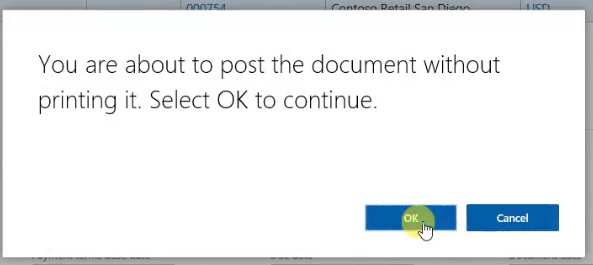
Click OK and a notification appears, since the customer is set to send an email. Select OK to continue.
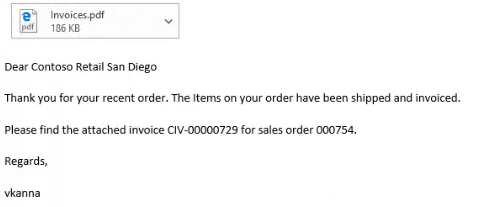
The Invoice Posting message will appear and the Email to the client will be generated.
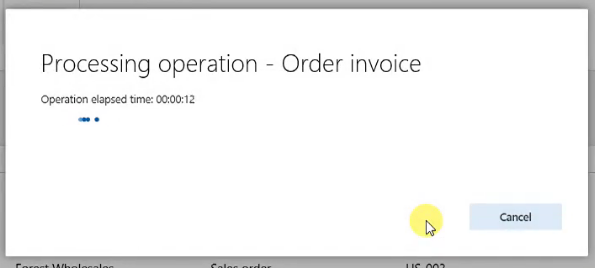
An Email with the invoice as an attachment will be sent automatically to the Customer.