Sales Order and Purchasing Reports Email App
The Sales & Purchasing Reports Email App enables an organization to effectively manage Customer and Vendor queries and share sales-related reports, such as Sales Order Confirmations, Picking Lists/Packing Slips, and Purchase Orders.
Overview
With the Sales & Purchasing Reports Email App, a Microsoft Dynamics 365 Finance user can send reports to a Customer or Vendor with a single click of a button without manual intervention. An automated email is sent to the Customer’s or Vendor’s point of Contact Email id, as defined in the Customer or Vendor master record. All the Sales or Purchasing reports will be printed in a PDF format, zipped together and automatically emailed to the specified Customer or Vendor.
Sales Order setup
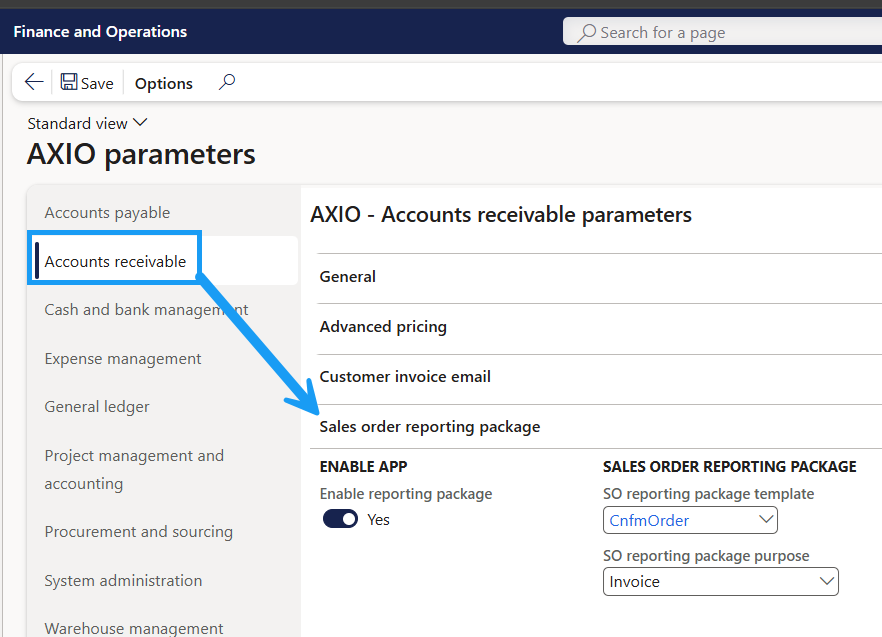
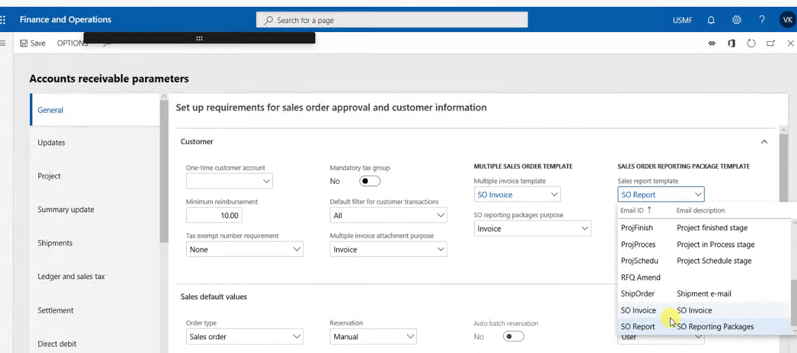
Navigate to: AXIO -> Setup -> AXIO Parameters -> Accounts Receivable-> Accounts Receivable.
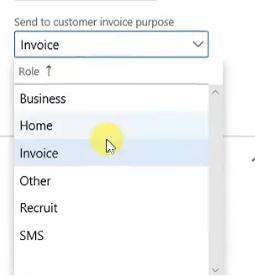
Select the Sales report template and the Send to customer invoice purpose.
Customer Email addresses
Customers must have Email addresses set up to receive Emails and invoices.
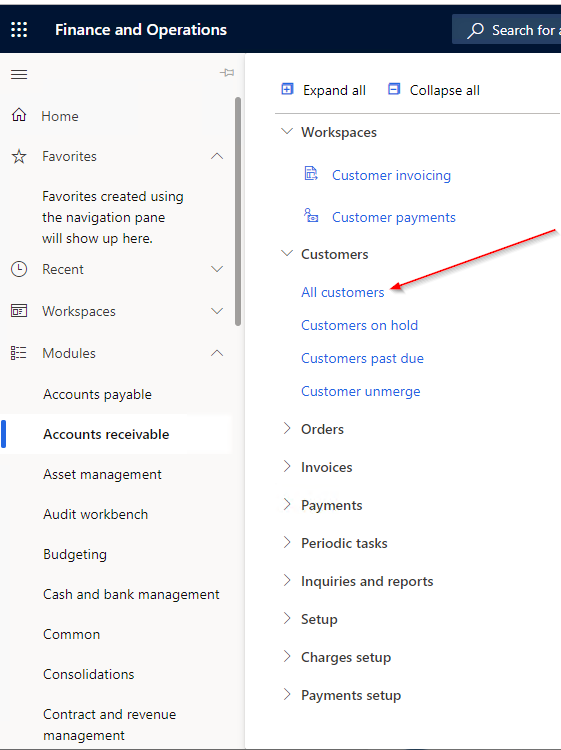
Navigate to: Accounts Receivable -> Customers -> All customers
Select a Customer
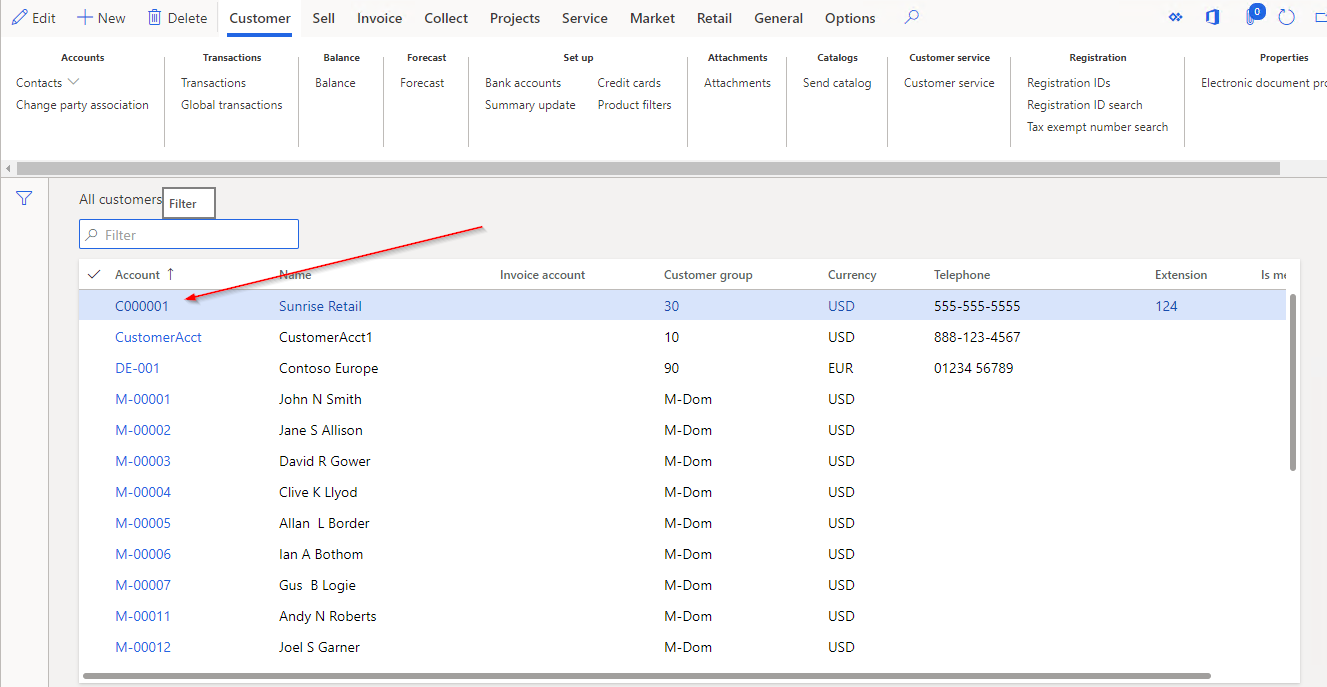
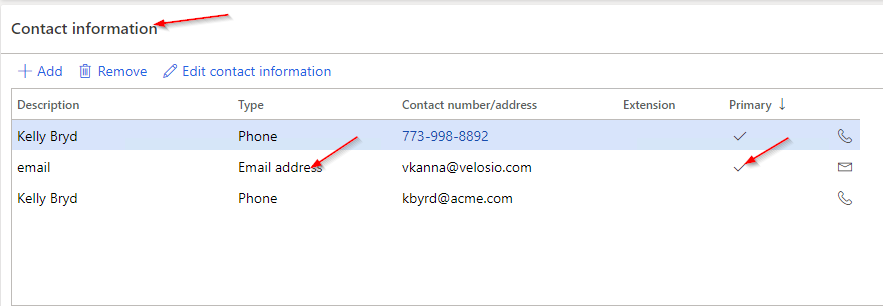
Navigate to the Contact Information tab and add the Email address for the Customer. The Primary checkbox must be selected.
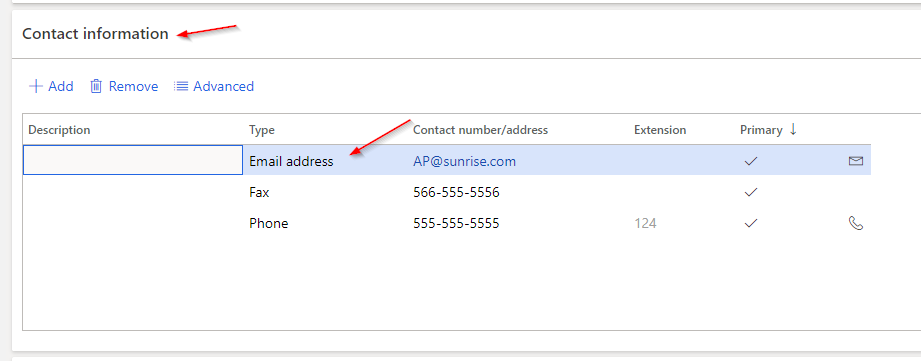
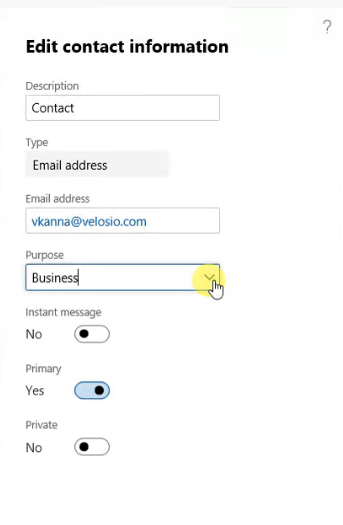
Click Advanced in the header to open the Details section.
Under Purpose add the attachments set up to match those in the parameters.

Sending Sales Documents
Navigate to: Accounts Receivable -> orders -> All sales orders
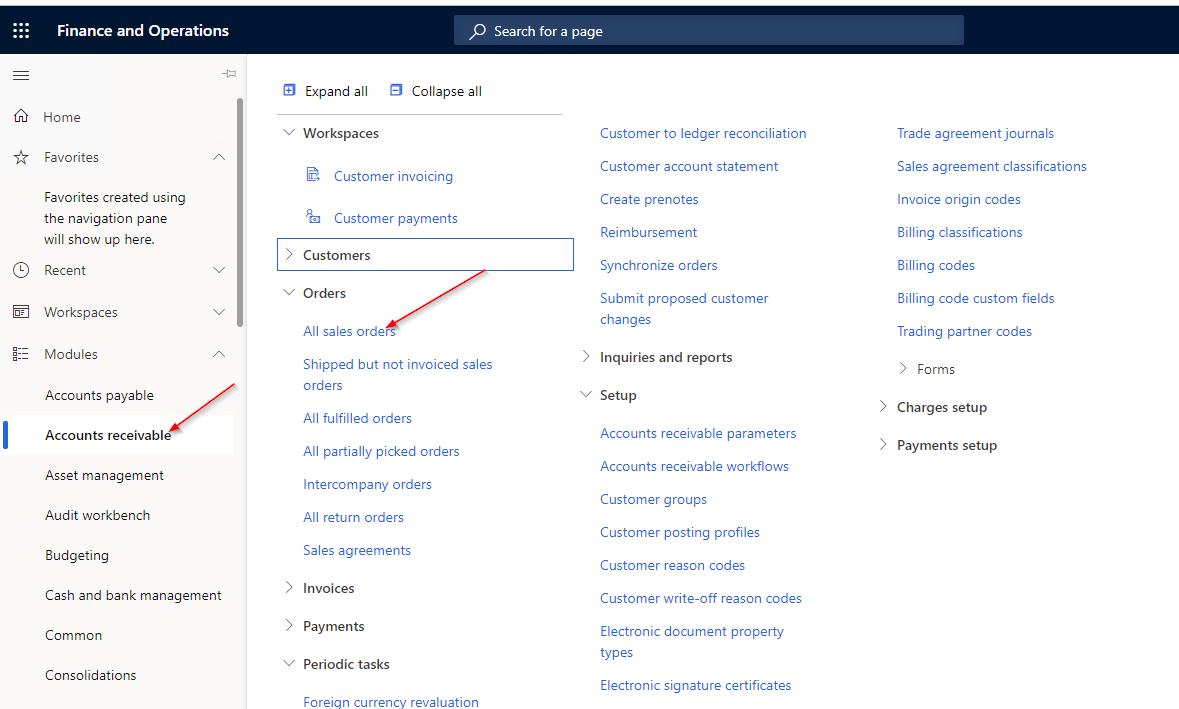
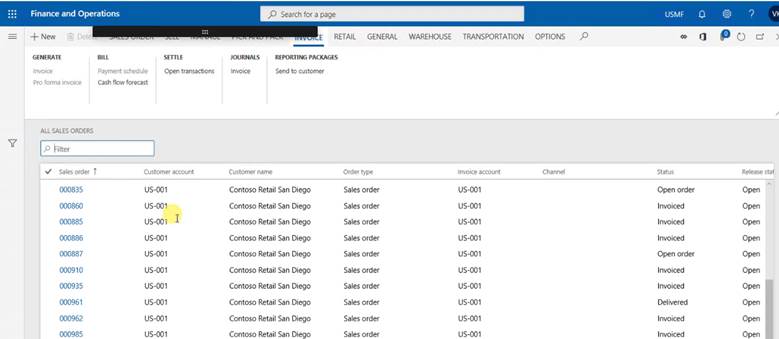
Select a Sales Order which has been invoiced.

Navigate to the Invoice Tab and under Reporting Packages click Send to customer.
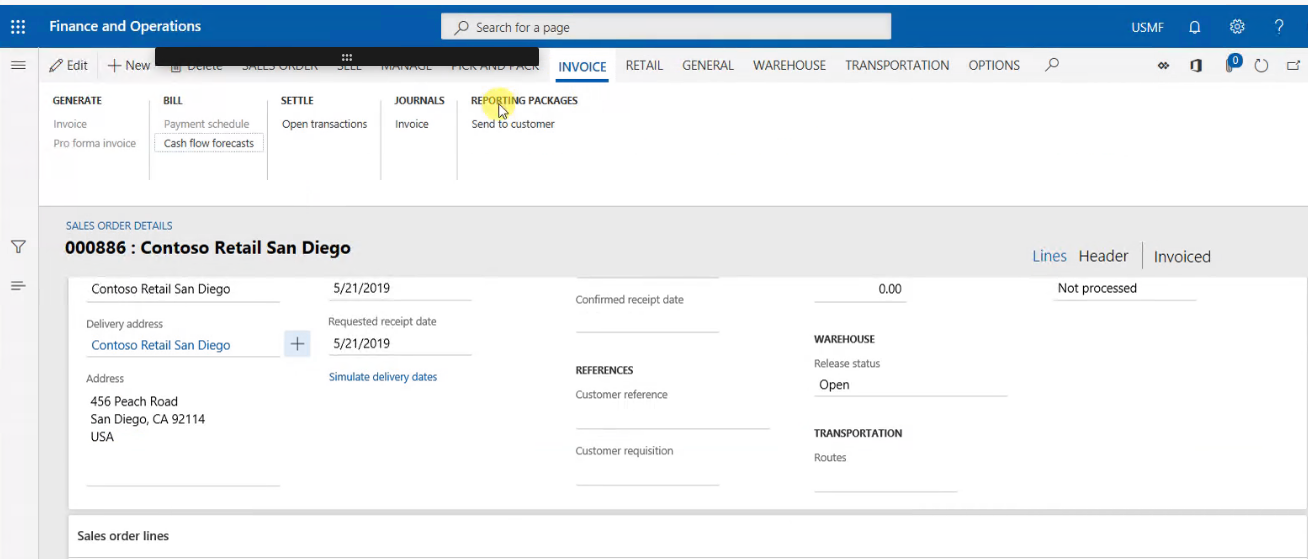
An Email with the list of Sales Order reports will be sent automatically to the Customer.
These reports include:
• Sales Order Confirmations
• Picking Lists/Packing Slips
• Invoices
The Customer can view the attachments in the automated Email to see their individual Sales Order related reports.
This feature easily enables forwarding key documentation to Customers in answer to queries, as well as saving time over manually sending individual documents.
Purchase Order setup
Navigate to: AXIO- > Setup -> AXIO Parameters -> Accounts Payable -> Enable reporting package.
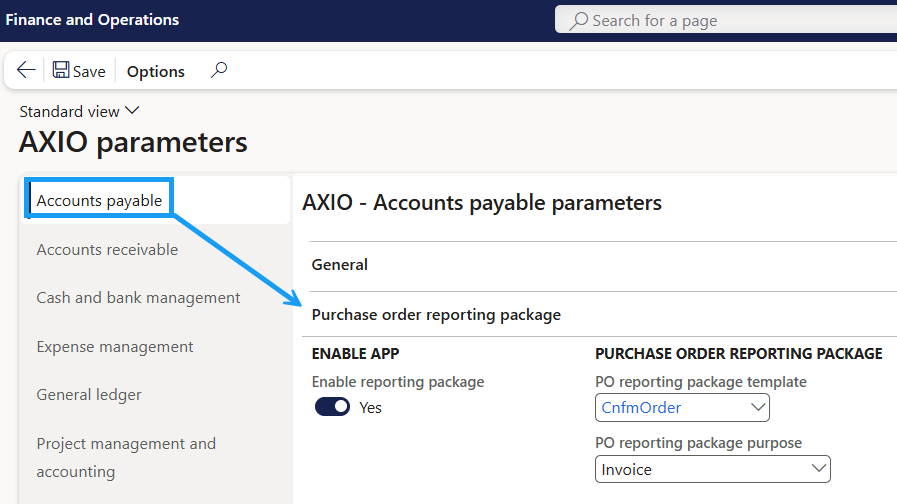
Select the Purchase Order Reporting Template. Select the PO reporting package purpose.
Vendor Email addresses
Vendors must have email addresses set up in order to receive emails.
Navigate to: Accounts Payable -> Vendors -> All vendors
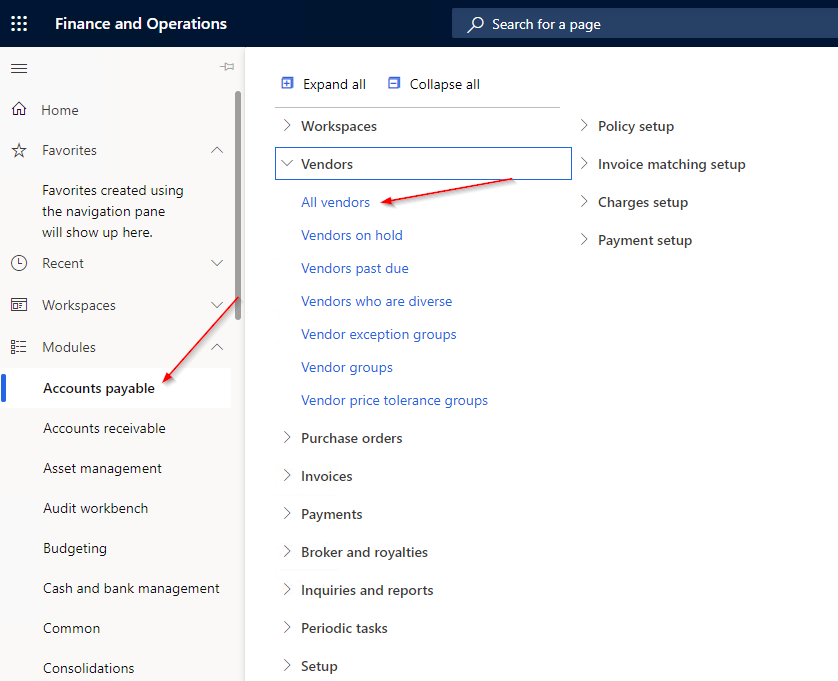
Select a Vendor
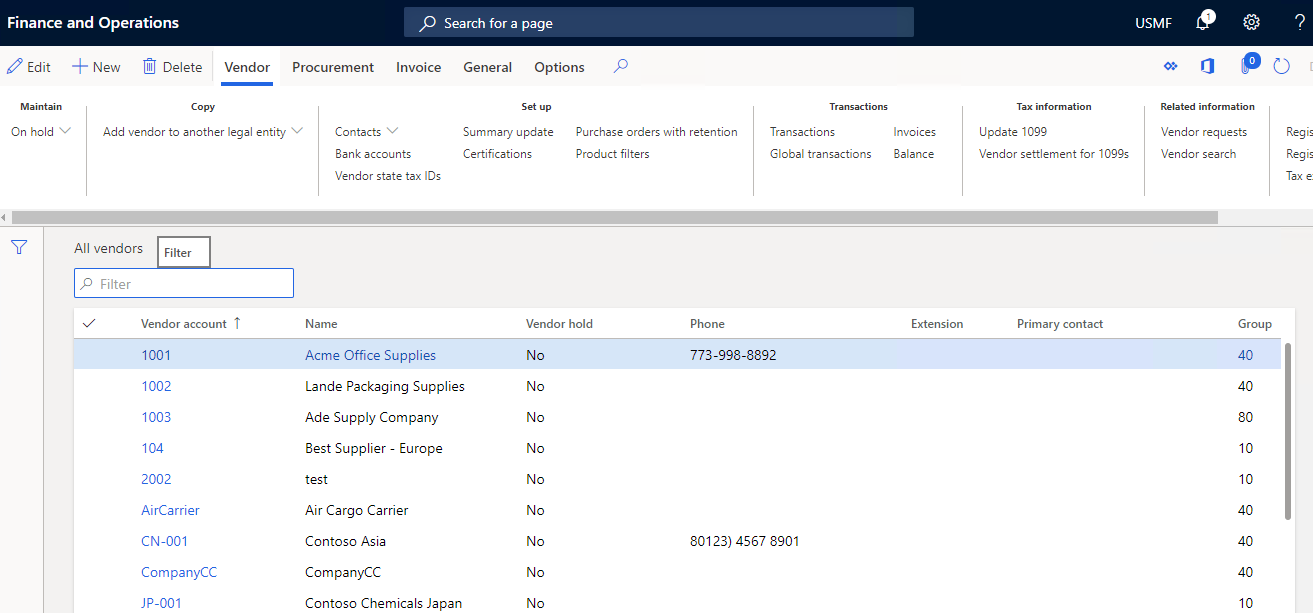
Navigate to the Contact Information tab and add the Email address for the Vendor. The Primary checkbox must be selected.
Click Edit Contact Information in the header to open the Details section. Under Purpose add the attachments set up to match those in the parameters.
Sending Purchasing Documents
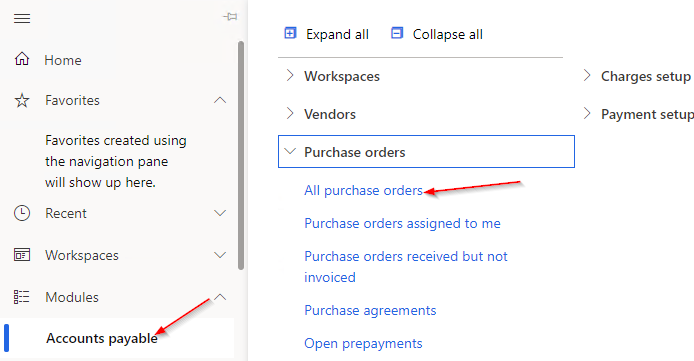
Navigate to: Accounts Payable -> Orders -> All Purchase Orders
Select a Purchase Order.
Navigate to the Invoice Tab and under Reporting packages, click Send to vendor .

An email with the list of Purchase Order reports is sent automatically to the Vendor.
These reports include:
• Purchase Order Confirmations
• Product Receipts
• Invoices
The Vendor can view the attachments in the automated Email to see their individual Purchase Order related reports.
This feature easily allows forwarding key documentation to Vendors in answer to queries, as well as saving time over manually sending individual documents.